Your First Post
From signup to published in 10 minutes.
This walkthrough gets you from a fresh Borker account to your first published post. Total time: about 10 minutes, most of it waiting for AI generation.
Prerequisites
Before you start, make sure you have:
- Completed the Onboarding wizard
- Added your Anthropic API key (Settings → Workspace → API Keys)
- Connected at least one channel
Step 1: Create a draft
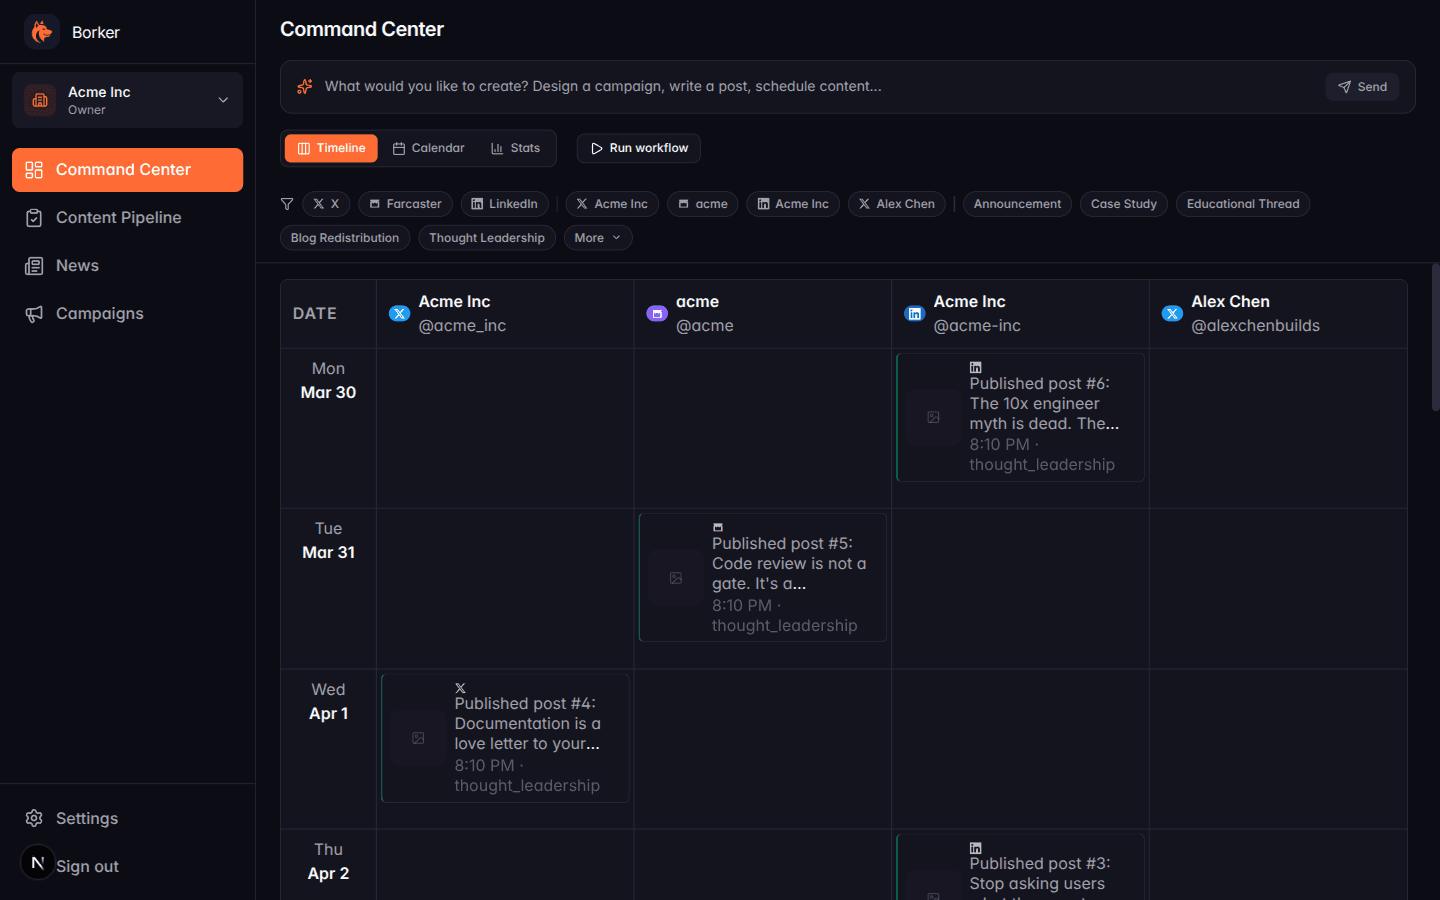
Go to the Command Center (the home icon in the sidebar) and type a prompt into the bar at the top:
Write an X post about our engineering culture
Click Send. In a few seconds you'll see a confirmation toast.
Step 2: Review it
Click Content Pipeline in the sidebar. You'll land on the Review tab with one new draft.
Click the draft card to open the detail modal. You'll see:
- The generated post text
- The platform and target channel
- Suggested scheduled time (or blank if none)
- Edit buttons
Read it. If the voice doesn't feel right, click Edit and tweak the content directly — or close the modal and adjust your Brand Voice settings (Settings → Brand & Voice) before running it again.
Step 3: Approve it
Back in the Review tab, click the green checkmark on the card (or open the detail and click Approve). The card moves to the Approved tab.
Approving ≠ scheduling. An approved post is still a draft; it just means "I'm okay with this content." You still need to schedule it to actually publish.
Step 4: Schedule it
Switch to the Approved tab. Click the card you just approved, then click Schedule. This opens a time picker — pick a future time and save.
The card moves to the Scheduled tab with its publish time shown.
Step 5: Publish
You don't click anything. At the scheduled time, Borker's publishing queue sends the post to the platform and it moves to the Published tab automatically.
You can watch this happen in real time if you scheduled something within the next few minutes.
What you just did
That's the core Borker loop:
Prompt bar → Draft → Review → Approve → Schedule → PublishedEverything else in Borker is a variation of this: different ways to produce drafts (daily automation, campaigns, news reactions, blog redistribution), but the review → approve → schedule → publish path is always the same.
Next steps
- Automate it: Enable daily generation so posts appear in Review without you prompting
- Design a campaign: Create a structured content plan with phases
- Monitor news: Set up news-reactive posts for industry breaking news
- Redistribute your blog: Turn blog posts into social content automatically